• Skip to primary navigation
  • Skip to main content
  • Skip to primary sidebar

Indian Cooking School

Indian Cuisine - Recipes, Tutorials, Reviews

  • About Us
  • Blog
  • Contact Us
You are here: Home / Archives for Staff Cook

Staff Cook

Exploring the Versatility of Paneer: From Saag Paneer to Paneer Tikka

January 24, 2023 by Staff Cook

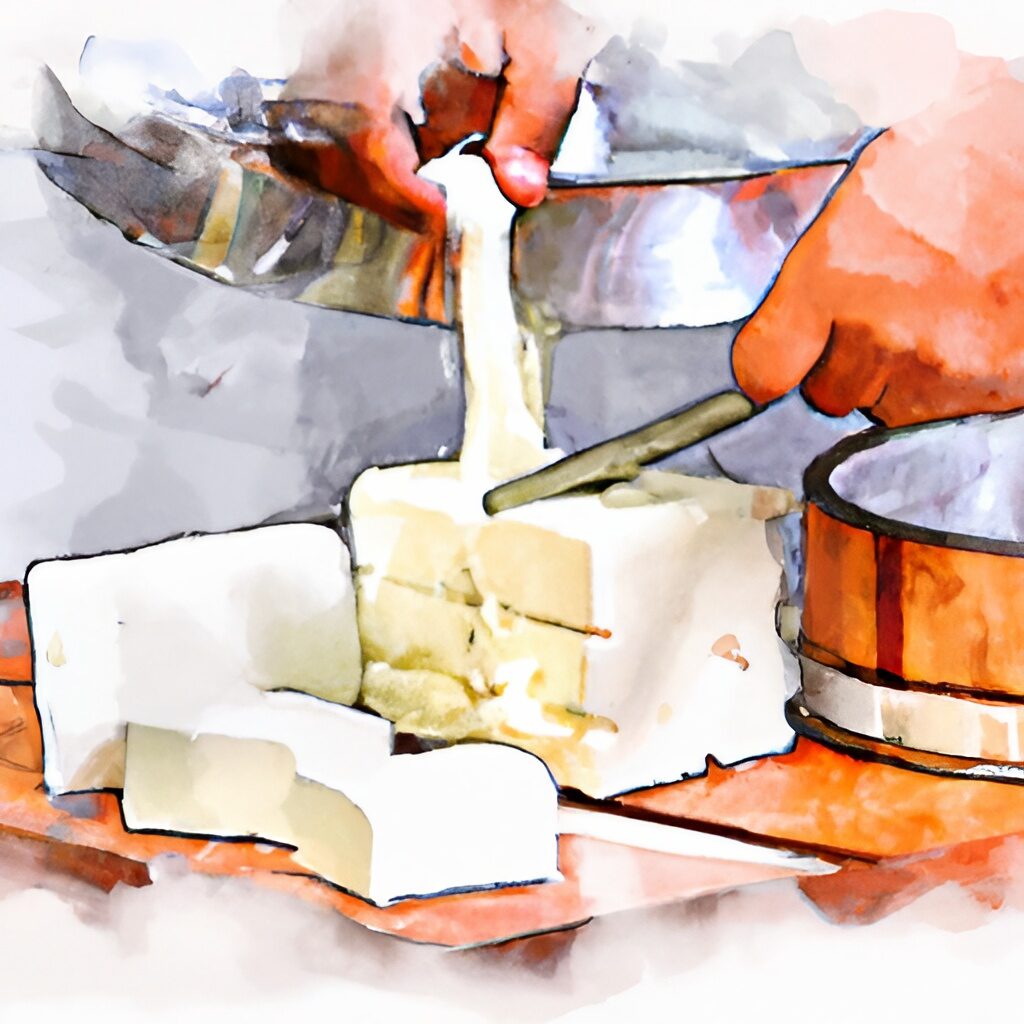
Paneer being cut

What Is Paneer?

Paneer is an unaged cheese that is popular in Indian cuisine. It is made by curdling cow’s or buffalo’s milk with lemon juice, vinegar, or another acidic ingredient. The resulting whey is then strained and pressed in muslin cheesecloth to create a firm block of cheese. Paneer has a firm and slightly crumbly texture, a mild and tangy flavor, and does not melt when heated. Paneer is completely vegetarian-friendly and can be used to make a variety of tasty dishes, from pakora to curries.

How is Paneer Used in Indian Cooking?

Paneer is a versatile ingredient that is used in a variety of dishes in Indian cuisine. Some common uses for paneer include:

  • Saag paneer: Saag paneer is a popular Indian dish made by cooking chopped paneer in a spicy and creamy spinach sauce. It is typically served with naan, rice or roti.
  • Palak paneer: Palak paneer is a similar dish to saag paneer, but it is made with a pureed spinach sauce instead of chopped spinach. It is also typically served with naan, rice, or roti.
  • Paneer tikka: Paneer tikka is a popular Indian snack made by marinating paneer cubes in a mixture of spices and herbs and then grilling or frying them until they are crisp and golden. It is typically served with a variety of chutneys or sauces.
  • Paneer paratha: Paneer paratha is a popular Indian breakfast dish made by stuffing a roti with a filling of spiced paneer and vegetables and then grilling or frying it until it is crisp and golden. It is typically served with a variety of chutneys or sauces.

Buying Paneer vs Making Paneer

Paneer is now available in most Indian grocery stores. We’ve even seen it in normal grocery stores such as Whole Foods and Costco. It is a perfectly valid shortcut to buy paneer for your dishes.

However, making paneer at home is fun and satisfying. It allows you greater control over texture and allows you to customize flavor by adding spices during the cooking process.

Paneer Recipe

Ingredients

  • 1 gallon whole milk
  • 1/4 cup lemon juice or vinegar*
  • 1/2 tsp salt* The amount of acid required to make paneer will vary depending on the quality of the milk used. Milk with a higher fat content will require more acid to curdle and create cheese.

Instructions

  1. In a large saucepan, heat the milk over medium-low heat until it reaches a gentle boil–stir occasionally.
  2. The milk should begin to curdle immediately. After the milk has curdled completely and you see a bit of green whey take it off the heat.
  3. Strain the curdled milk through a cheesecloth-lined colander, and let it sit for 20-30 minutes to allow the whey to drain off.
  4. Carefully gather the corners of the cheesecloth and twist them tightly to form a ball of paneer.
  5. Run clean water over the cloth to rinse to reduce the acid flavors.
  6. Place the paneer in a colander and press it gently with a plate or a pot lid to remove any excess whey. For firmer paneer, put a one-pound weight on the plate and let it sit for an hour.
  7. Transfer the paneer to a clean bowl and stir in the salt.
  8. Cover the bowl with plastic wrap and refrigerate the paneer for at least 4 hours or until it is firm and chilled.
  9. Cut the paneer into cubes or slices, and use it in your favorite Indian dishes.

Five Food Acids that Curdle Milk for Paneer

You can use a variety of acids to curdle the milk. Each gives it the paneer a slightly different characteristic.

  1. Lemon juice or lime juice: Add 1/4 cup for a gallon of milk for a soft and firm texture.
  2. Vinegar: Add 1/4 cup of white vinegar or apple cider vinegar for a faster curdling process and a firm and soft texture.
  3. Curd or yogurt: Add between 1/4 cup to 1/2 cup of fresh curd or yogurt for a softer and moister paneer.
  4. Buttermilk: Add between 1/4 cup to 1/2 cup of buttermilk for a soft and firm paneer.
  5. Citric acid: Citric acid is used in the commercial production of paneer and will give you firm paneer.

Paneer Recipe Variations

  • Vary the flavor of the paneer by adding spices, such as cumin, coriander, or ginger, to the milk before curdling it.
  • Vary the texture of the paneer by pressing it more or less firmly to remove the whey. A firmer paneer will have a drier and more crumbly texture, while a softer paneer will have a moister and more creamy texture.
  • Vary the acidity of the paneer by using different acidic ingredients to curdle the milk, such as vinegar, citric acid, or buttermilk.

How to Store Paneer

Storing paneer is easy and it will last for about a week in the refrigerator if stored properly. First, ensure the paneer is wrapped tightly in plastic or aluminum foil to prevent any air from getting in. Secondly, place the wrapped paneer in an airtight container or resealable plastic bag before storing it in the refrigerator. It is also important to note that if you see any mold or discoloration on the paneer, it should be discarded immediately as it is no longer safe to consume. Additionally, if you have a large block of paneer and don’t plan on using it all within a week, you can freeze it for up to 2 months. Make sure to wrap it tightly in plastic or aluminum foil before placing it in an airtight container or resealable plastic bag before storing it in the freezer.

Uses for Paneer Whey

Paneer whey is the liquid that is left over after making paneer. It is a by-product of the paneer-making process and is rich in protein, vitamins, and minerals. Paneer whey can be used for various purposes and has several benefits. Some of the ways paneer whey can be used include:

  1. As a protein supplement: Paneer whey is a good source of protein and can be used as a supplement for those looking to increase their protein intake.
  2. As a cooking ingredient: Paneer whey can replace water or milk in recipes such as curries, soups, and stews.
  3. For fermentation: Paneer whey can make probiotic-rich foods such as kombucha, kefir, and yogurt.
  4. For baking: Paneer whey can replace milk or water to add protein and moisture to baked goods.
  5. As a fertilizer: Paneer whey can be used as a fertilizer for plants as it contains beneficial nutrients.

It’s important to note that whey should be consumed or used within 2-3 days of making the paneer, as it has a high water content and will spoil if not stored properly.
Filed Under: Indian Recipes, Ingredients

From Delhi to Your Kitchen: A Step-by-Step Recipe for Butter Chicken

January 15, 2023 by Staff Cook

I first had butter chicken on a road trip from Mumbai to a hill station.   Late in the evening, my uncle pulled over at this restaurant in a cottage in the middle of a dark field.   Of course, it was the best dish I’ve ever had in that atmosphere.   Now I know that it’s a very popular dish in Northern India and can be found in Indian restaurants worldwide.

History of Butter Chicken

Butter chicken, also known as murgh makhani, is a popular dish in Indian cuisine that originated in the northern Indian city of Delhi. It is believed to have been created in the 1950s by Kundan Lal Gujral, the owner of a restaurant called Moti Mahal. According to the legend, Butter chicken was created as a way to use up leftover tandoori chicken.

Gujral came up with simmering the leftover chicken in a tomato-based sauce with butter and cream. The dish was instantly successful and quickly gained popularity among locals and travelers. The dish quickly spread throughout northern India and eventually to other parts of the country and the world.

What does butter chicken taste like?

Butter chicken is typically made with marinated chicken cooked in a clay oven (tandoor). It has a rich and creamy flavor with a slightly sweet and tangy taste. The tomato-based sauce is made with butter, cream, and a blend of ginger, garlic, cumin, coriander, and garam masala. The tender, succulent chicken is then simmered in the flavorful sauce, creating a savory and sweet balance. The dish is typically served with rice or naan bread. Overall, it is a comforting and satisfying dish with a harmonious blend of flavors.

What is the difference between butter chicken and tikka masala?

Butter chicken and chicken tikka masala are sometimes confused. Butter chicken and chicken tikka masala are both popular Indian dishes, but they are prepared differently and have distinct flavors. Butter chicken is a dish that originated in northern India. On the other hand, chicken tikka masala is a dish believed to have originated in the UK and is heavily influenced by Indian cuisine. Butter chicken is known for its sweet, creamy, and mild taste, while Chicken Tikka Masala is known for its spicy, creamy, and tomato-based flavor.

Want to try making butter chicken at home?    One of the most popular recipes on Reddit and Youtube is from Chef Varun Inamdar.

Butter Chicken Recipe

Butter Chicken Ingredients

For the chicken:

  • 1 lb boneless chicken breast
  • 1 tbsp ginger-garlic paste
  • 1 tbsp red chili powder
  • Salt to taste
  • Oil for pan-frying

For the gravy:

  • 1 lb roughly chopped tomatoes
  • 1/2 lb roughly chopped onions
  • 1 tbsp garlic paste
  • 1/4 cup cashews
  • 1 tsp dried fenugreek leaves (kasoori methi)
  • 1/2 tsp garam masala powder
  • 4 tbsp granulated sugar
  • 2 tbsp Kashmiri chili powder
  • 5 tbsp butter
  • 3 tbsp heavy cream
  • 2 tbsp malt vinegar or 1.5 tbsp white vinegar
  • Salt to taste

Butter Chicken Instructions

  1. Marinate the chicken with ginger-garlic paste, red chili powder, and salt. Let it sit for 15-20 minutes.
  2. In a pan, heat some oil and pan-fry the marinated chicken pieces until cooked through. Remove from the pan and set aside.
  3. In the same pan, add the onions and sauté with a spoonful of butter. Once the onions are cooked, add the tomatoes and cashews.
  4. Add water, garlic paste, salt, malt vinegar or white vinegar, sugar, garam masala powder, and chili powder. Mix well and let it simmer for 15-20 minutes.
  5. Use a blender to puree the mixture until smooth.
  6. Strain the puree back into the same pan, pressing out as much liquid as possible.
  7. Add butter, cream, chicken, and dried fenugreek leaves. Let it simmer for 5-7 minutes.  Garnish with cream and dried fenugreek leaves before serving.

For your convenience, we have converted his recipe for butter chicken to one that uses measurements in the English system.

We also love Serious Eats Stovetop Butter Chicken Recipe. You can also make butter chicken in an Instant Pot or Pressure Cooker.

Filed Under: Indian Recipes

Wake Up to the Delicious Taste of Parsi Akuri: A Spicy Scrambled Egg Dish

January 4, 2023 by Staff Cook

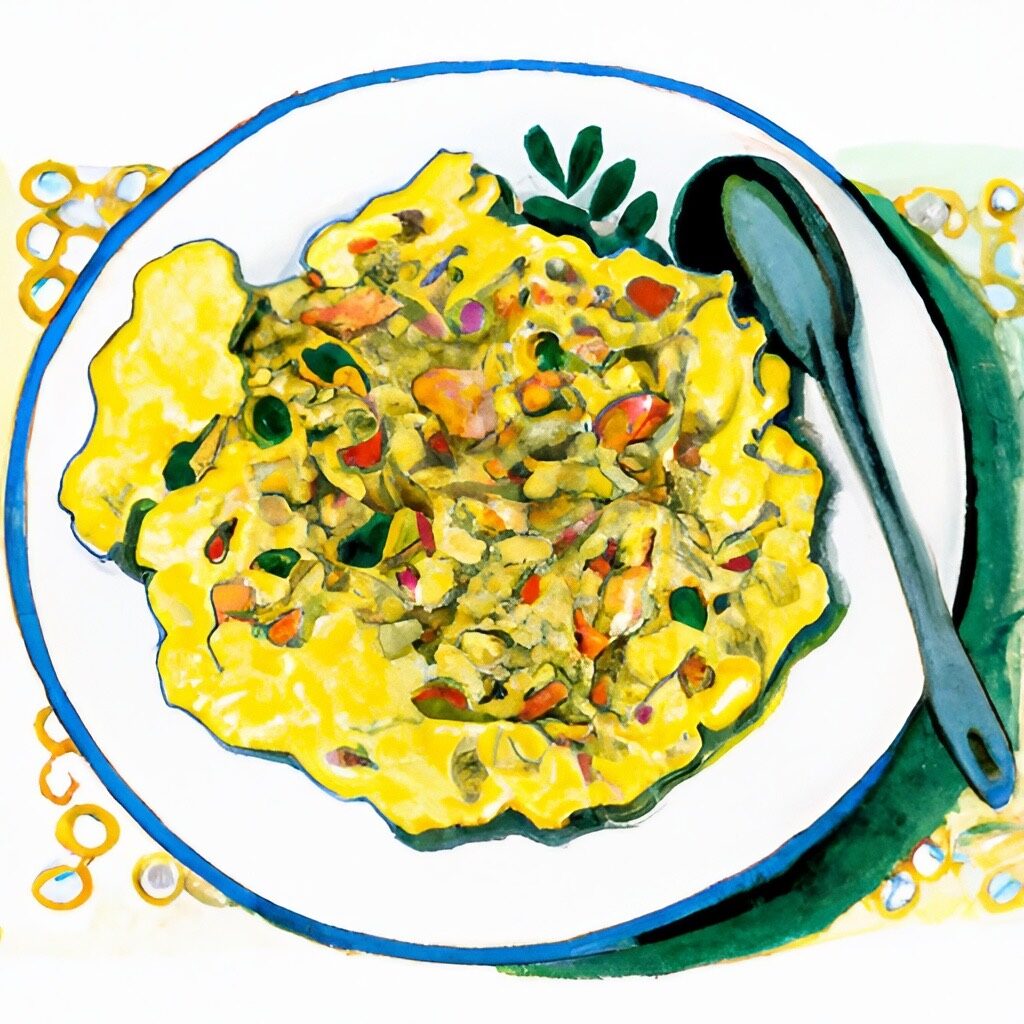
Parsi Akuri

If you’re a fan of savory and spicy breakfast dishes, then you’ll love Parsi Akuri. This traditional Indian recipe features scrambled eggs cooked with a blend of aromatic spices and onions, creating a flavor explosion that will kickstart your day. The eggs are mixed with mild spices and served with bread and salad. Try making this and serve it for a lazy Sunday brunch, along with some warm toast.

Parsi Akuri Ingredients

  • 4 large eggs
  • 1 medium onion, finely chopped
  • 1 green chili, finely chopped
  • 1 tablespoon finely chopped cilantro
  • 2 tablespoons oil
  • 1/2 teaspoon mustard seeds
  • 1/2 teaspoon cumin seeds
  • 1/2 teaspoon ground turmeric
  • Salt, to taste


Parsi Akuri Instructions

  1. Beat the eggs in a small bowl and set aside.
  2. In a large skillet, heat the oil over medium heat. Add the mustard and cumin seeds and fry until they pop.
  3. Add the onions and green chili and fry until the onions are translucent.
  4. Add the turmeric and salt, and stir to combine.
  5. Pour in the beaten eggs and stir gently to combine with the onion mixture.
  6. Reduce the heat to low and cook until the eggs are cooked through and scrambled, about 5-7 minutes.
  7. Sprinkle with chopped cilantro and serve hot.

This recipe should make 2 servings.

Filed Under: Indian Recipes Tagged With: Parsi

Authentic Kheema Pav Recipe: A Delicious and Hearty Street Food from Mumbai

January 3, 2023 by Staff Cook

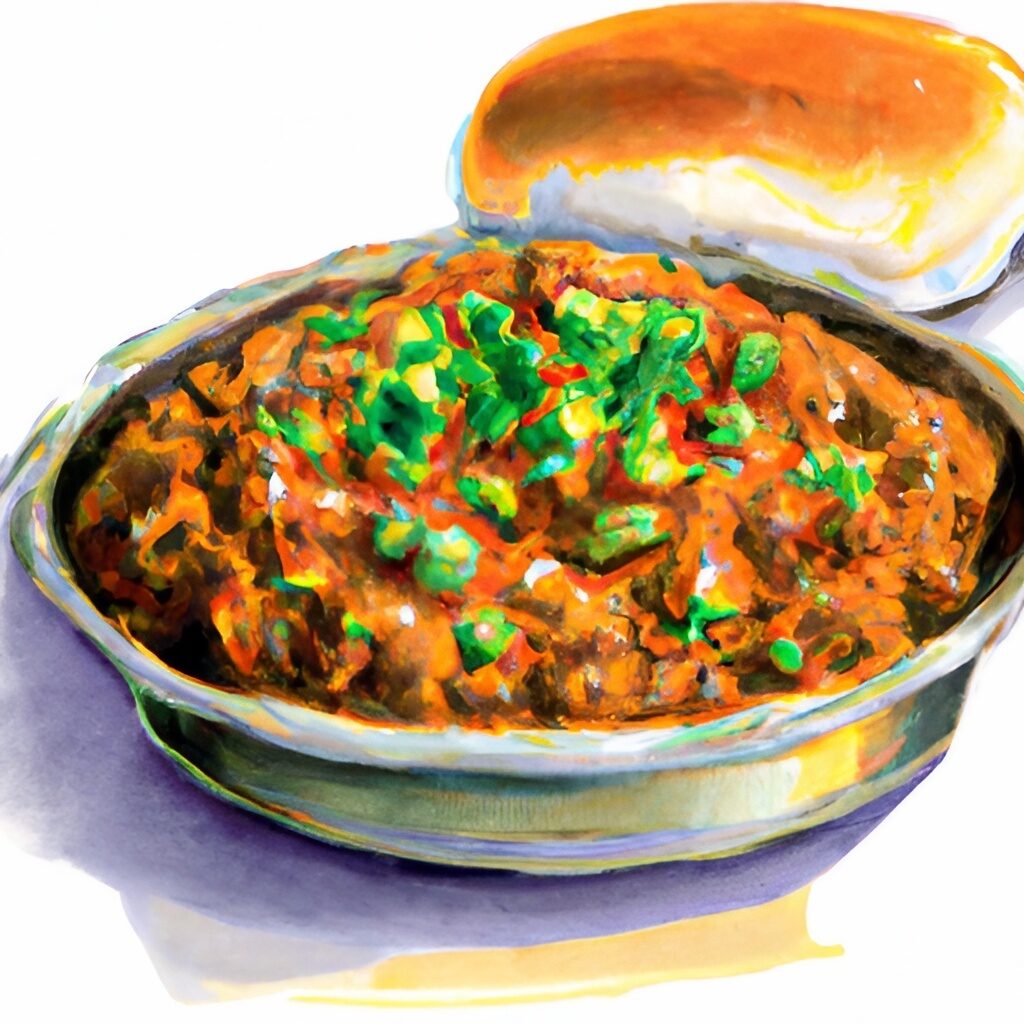
Kheema in Bowl, Pav next to it

Kheema Pav is a delicious and hearty meal that combines minced meat with aromatic spices and served with soft, pillowy buns. This recipe is a traditional dish from the Parsi community in India and is popular street food in Mumbai. It is perfect for a quick lunch or dinner and will satisfy your cravings for something savory and flavorful. Give this recipe a try and transport yourself to the bustling streets of Mumbai with every bite.

Kheema Pav Ingredients

  • 1 pound ground lamb or beef
  • 1 medium onion, finely chopped
  • 1 tomato, finely chopped
  • 2 cloves garlic, finely minced
  • 1-inch ginger, finely minced
  • 1 green chili, finely chopped (optional)
  • 1 teaspoon cumin seeds
  • 1 teaspoon coriander seeds
  • 1/2 teaspoon garam masala
  • 1/2 teaspoon red chili powder (optional)
  • 1/4 cup water
  • Salt, to taste
  • Oil for frying
  • 4-6 pav buns
  • Chopped onions and cilantro for serving (optional)

Kheema Pav Instructions

  1. In a large saucepan, heat a small amount of oil over medium heat. Add the cumin seeds and coriander seeds and fry until fragrant.
  2. Add the onions, garlic, ginger, and green chili (if using) and fry until the onions are translucent.
  3. Add the ground meat and cook until it is browned, breaking it up into small pieces as it cooks.
  4. Add the tomato, garam masala, red chili powder (if using), and salt. Stir to combine.
  5. Add the water and bring the mixture to a boil. Reduce the heat to low and simmer for 20-30 minutes, until the meat is cooked through and the sauce thickens.
  6. Heat a griddle or frying pan over medium heat. Split the pav buns in half and lightly toast them on both sides until they are golden brown.
  7. To serve, place a portion of the kheema mixture onto the bottom half of each pav bun. Top with chopped onions and cilantro (if using), and cover with the top half of the bun. Serve hot.

This recipe should make enough kheema filling for 4-6 servings, depending on how much filling you put in each pav bun. You can easily adjust the recipe to make more or less by using a larger or smaller amount of ground meat and adjusting the other ingredients accordingly.

Filed Under: Indian Recipes

Savor the Flavor of Patra ni Machi: A Healthy and Delicious Parsi Dish Cooked in Banana Leaves

January 1, 2023 by Staff Cook

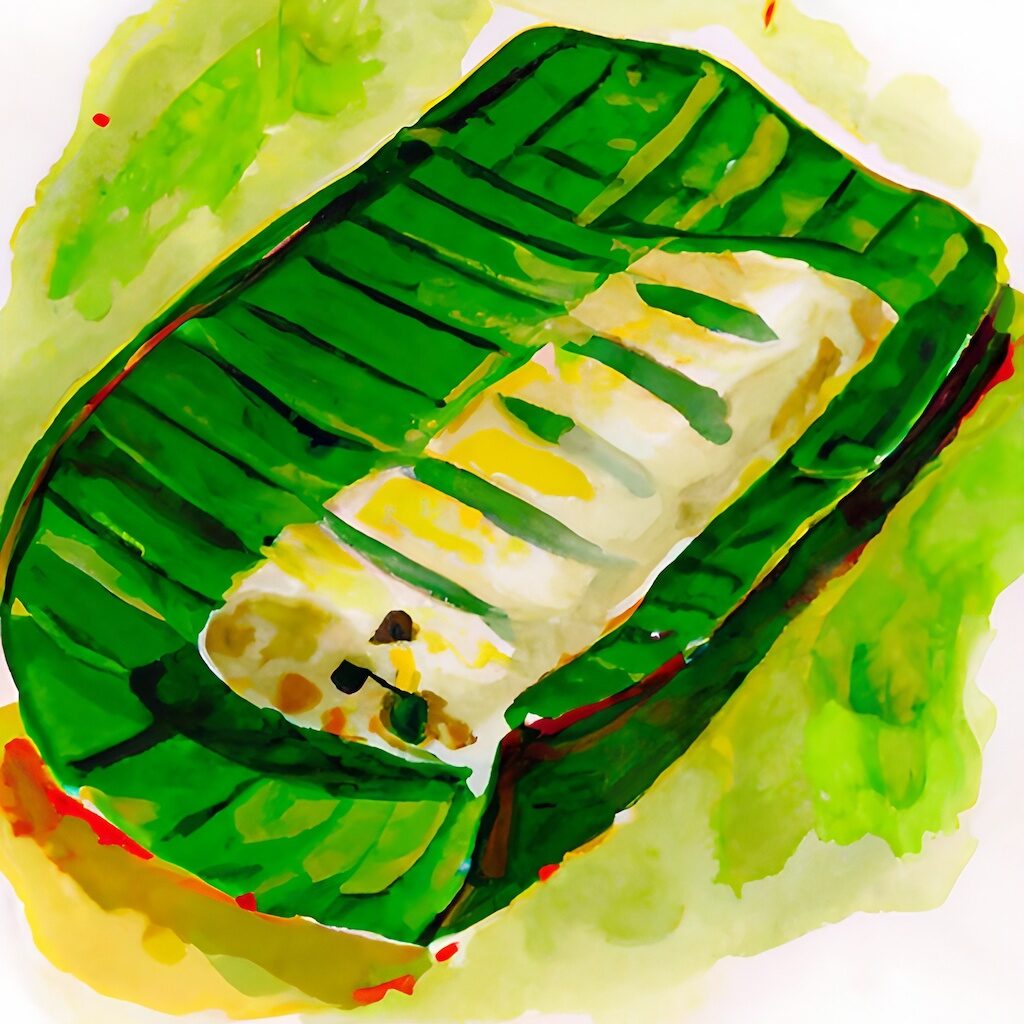
Patra Ni Machi is a classic Parsi dish with fish smeared with a generous amount of flavorful green chutney wrapped in banana leaves and steamed. Banana leaves not only look beautiful but also lend a subtle aroma and taste when foods are cooked inside them. It’s light, comforting, and satisfying, making it an excellent choice for those seeking a healthier option.

One of the standout features of this recipe is the green chutney, which is made with garlic, green chilies, mint, and coriander leaves. These ingredients combine to create a delicious and aromatic sauce that adds a ton of flavor to the dish. If you’re a fan of flavorful and healthy food, then you’ll want to give Patra Ni Machi a try.

Ingredients for Patra Ni Machi:

  • 1-pound flaky white fish, like rock cod, lingcod, snapper or sea bass
  • 1/2 cup coriander leaves
  • 1/4 cup mint leaves
  • 1/4 cup grated coconut
  • 1 green chili
  • 1 teaspoon cumin seeds
  • 1 teaspoon mustard seeds
  • 1 teaspoon sesame seeds
  • 1/4 cup water
  • Salt, to taste
  • Banana leaves, for steaming

Instructions for Patra Ni Machi

  1. Combine the coriander leaves, mint leaves, grated coconut, green chili, cumin seeds, mustard seeds, sesame seeds, water, and salt in a blender or food processor. Process until smooth, adding additional water to achieve a thick, spreadable consistency.
  2. Cut the banana leaves into large rectangles, about 10 inches by 12 inches.
  3. Place a fish fillet in the center of each banana leaf rectangle. Spread a layer of the chutney mixture over the top of the fish.
  4. Fold the banana leaves over the fish to enclose it, forming a parcel. Secure the parcels with toothpicks or kitchen twine.
  5. Place a steamer basket in a large pot filled with water. Bring the water to a boil over high heat.
  6. Arrange the banana leaf parcels in the steamer basket, ensuring they are not touching the water. Cover the pot and steam the fish for 10-12 minutes, or until the fish is cooked through and flakes easily with a fork.
  7. Remove the pot from the heat and allow the fish to cool for a few minutes. Carefully remove the banana leaves and serve the fish hot.

This recipe should make 4 servings.

Filed Under: Indian Recipes

Mango Lassi: A Delicious Way to Enjoy the King of Fruits in Indian Cuisine

December 22, 2022 by Staff Cook

Glass of Mango Lassi with an uncut mango and a couple of slices of cut mango

India has a deep and enduring love for mangos, with good reason. This juicy and succulent fruit is not only delicious but is also packed with vitamins and minerals that are essential for good health. In India, mangos are enjoyed in various dishes, from sweet desserts to savory curries. They are also used to make refreshing drinks like mango lassi and mango smoothies.

But India’s love for mangos goes beyond their taste and nutritional value. Mangos hold a special place in the hearts of Indians and are often associated with fond memories and cultural traditions. In many parts of India, the arrival of mango season is a cause for celebration, with festivals and markets dedicated to the fruit.

Whether you’re enjoying a ripe and juicy mango straight from the tree or savoring the flavors of a mango-based dish, it’s easy to see why India’s love for this delicious fruit runs deep.

Mango Lassi Recipe

Lassi is a traditional Indian drink made from yogurt, milk, and various flavorings. It is a refreshing and cooling beverage, especially during the hot summer. Lassi can be made in various flavors, including sweet and savory variations. Some common flavorings for lassi include mango, rose water, and spices such as cardamom and saffron. Lassi is typically served chilled and garnished with fresh herbs or fruit. It is often enjoyed as a refreshing drink alongside spicy Indian dishes.

Mango lassi is a delicious and refreshing Indian drink made from mangoes, yogurt, and milk. Here is a simple recipe for making mango lassi at home:

Ingredients:

  • 1 cup plain yogurt
  • 1 cup milk
  • 1 cup diced ripe mango
  • 2 tbsp sugar (or to taste)
  • 1/2 cup ice (optional)

Instructions:

  1. In a blender, combine the yogurt, milk, mango, sugar, and ice (if using).
  2. Blend on high speed until the mixture is smooth and frothy.
  3. Taste and adjust the sweetness to your liking by adding more sugar if desired.
  4. Pour the lassi into glasses and serve immediately, garnished with a sprig of mint or a slice of mango if desired.

Note: You can use fresh or frozen mango for this recipe. If using frozen mango, you can omit the ice in the recipe. Additionally, you can use any type of yogurt you like, such as whole milk yogurt, Greek yogurt, or plant-based yogurt. Experiment with different flavors and textures to find your perfect lassi.

This recipe makes about 2 cups of mango lassi. However, the exact amount may vary depending on the size of your blender and the proportions of the ingredients you use. If you want to make a larger batch of lassi, simply adjust the proportions of the ingredients accordingly.

Filed Under: Indian Recipes

Indulge in the Warm, Aromatic Bliss of Masala Chai

December 18, 2022 by Staff Cook

Chai Water Color

The aroma of chai has wafted through the streets of India for centuries, enchanting the senses and warming the soul. This beloved beverage has a rich history that stretches back to ancient times when it was first crafted from aromatic spices and black tea. Over the years, chai has evolved into the rich and complex drink that we know and love today, with each region of India adding its unique twist to the recipe. From the bustling markets of Delhi to the quiet tea stalls of the countryside, chai is an integral part of daily life in India, bringing people together and nourishing the body and spirit. Whether you’re sipping a steaming cup on a chilly morning or sharing a pot with friends, chai is a timeless treasure that has captured the hearts of people around the world.

Chai is the heartbeat of India. It’s the drink that wakes us up in the morning, helps us take a break from our busy lives, and brings us together with friends and family. It’s a symbol of hospitality, a source of comfort, and a daily ritual that connects us with our cultural roots.

Indian chai, also known as masala chai, is a delicious and aromatic spiced tea popular throughout India. Here is a simple recipe for making Indian chai at home:

Chai Ingredients

  • 2 cups water
  • 2 cups milk
  • 2 tbsp black tea leaves
  • 1 cinnamon stick
  • 2 cardamom pods
  • 1-inch piece of fresh ginger, sliced
  • 2 tbsp sugar (or to taste)

Chai Instructions

  1. In a saucepan, bring the water, milk, tea leaves, cinnamon stick, cardamom pods, and ginger to a boil over medium heat.
  2. Reduce the heat to low and let the mixture simmer for 10 minutes or until the tea is brewed to your desired strength.
  3. Stir in the sugar and adjust to taste.
  4. Strain the tea into cups and serve hot.

Optional: You can add other spices to the chai, such as cloves, black pepper, or fennel seeds, to give it a more complex flavor. Experiment with different combinations to find your perfect chai blend.

Makes 4 cups of Chai.   If you want to make a larger batch of chai, simply adjust the proportions of the ingredients accordingly.

Calling it “chai tea” or “chai tea latte” is redundant because “chai” already means tea. It would be like calling it “tea tea” or “tea tea latte” – it just doesn’t make sense.

Filed Under: Indian Recipes

I don’t like Indian Food….Do you mean Punjabi Food?

December 18, 2022 by Staff Cook

MapofIndia

I don’t like Indian food. I hear that occasionally. I explain that there’s not really Indian food…that the country has a variety of regional foods. Unfortunately, the great majority of Indian restaurants outside India focus on the cuisine of Punjab.  This Indian cuisine map, courtesy of Maps of India, does a great job of illustrating the foods from the various regions of India.  Remember that India is about the size of continental Europe and has 28 states, each with its food, attire, and even unique spin on religion.

Indian cuisine is known for its diverse flavors and dishes, and the country’s regional differences play a large role in this diversity. Each region of India has its unique cooking style, influenced by climate, culture, and local produce.

In northern India, the staple grain is wheat, which is used to make various bread such as roti, naan, and paratha. The cuisine of this region is also characterized by rich, creamy dishes like butter chicken and korma, which are made using yogurt and cream. Spices such as cardamom, cloves, and cinnamon are widely used in northern Indian cuisine.

In southern India, rice is the staple grain, and dishes are typically made using coconut and tamarind for added flavor. The cuisine of this region is known for its use of fresh herbs and spices, including curry leaves, mustard seeds, and turmeric. Popular dishes from this region include dosa, a type of fermented rice and lentil crepe, and idli, a steamed rice cake.

In eastern India, the cuisine is influenced by the flavors of Nepal and Tibet. The region is known for its use of fermented foods, such as the popular dish of momos and steamed dumplings filled with meat or vegetables. The region is also known for its sweet dishes, such as rasgulla, a spongy ball of cheese soaked in syrup.

In western India, the cuisine is influenced by the flavors of Gujarat and Rajasthan. The region is known for using lentils and beans in dishes such as dal and chana masala. The cuisine of this region is also characterized by a wide variety of vegetarian dishes, as well as spicy curries made with a blend of chili peppers and other spices.

Overall, Indian cuisine is a rich and diverse culinary tradition that is influenced by a wide range of factors, including geography, culture, and local produce. Whether in the north, south, east, or west of India, you’re sure to find delicious and unique dishes that are characteristic of the region.

Filed Under: Indian Recipes

Getting Started with Indian Cooking: Stocking your Pantry

June 18, 2015 by Staff Cook

Cooking Indian food at home can be a delicious experience, but it does require a fair collection of ingredients, particularly spices. Indian cuisine is known for its rich and complex flavors, and many of these flavors come from the spices used in the dishes.

To make it easier to try many different Indian recipes, it’s important to have a well-stocked pantry with the right ingredients. One of the best ways to do this is to take a trip to an Indian grocery store. These stores carry a wide variety of Indian spices at a very affordable price. It’s a great way to stock up on all the ingredients you’ll need to make delicious Indian meals at home. The Indian store will also have other ingredients like lentils, basmati rice, and other grains used extensively in Indian cooking. With the right ingredients on hand, you’ll be able to experiment with different Indian recipes and create delicious meals for your family and friends.

Essential Indian Spices

List of common spices used in Indian cooking, each adding a unique flavor and aroma to dishes.

  • Cumin powder (jeera powder): Has a warm, earthy, and slightly bitter flavor and is used in various dishes, including curries, stews, and lentils.
  • Coriander powder (dhania powder): Has a slightly sweet and nutty flavor and is used in various dishes, including curries, stews, and lentils.
  • Turmeric powder (haldi powder): Has a warm and earthy flavor and is used for its vibrant yellow color as well as for its medicinal properties. It is a common ingredient in curries, lentils, and vegetables.
  • Red chili powder (lal mirch powder): Has a hot and spicy flavor and is used to add heat to dishes. It is a common ingredient in curries, marinades, and dry rubs.
  • Garam masala powder: A blend of spices typically includes cumin, coriander, black pepper, cloves, cinnamon, and cardamom. It has a warm and aromatic flavor and is used as a finishing spice in various dishes, including curries, stews, and lentils. When starting with Indian cooking, buying garam masala from the store is acceptable. As you get more experienced you should start making your own and customizing it to your taste.
  • Cumin seeds (jeera): Has a warm, earthy, and slightly bitter flavor and are used as a whole seed or ground in various dishes, including curries, stews, and lentils.
  • Mustard seeds (sarson): Has a pungent and slightly spicy flavor and are used as a whole seed or ground in various dishes, including curries, stews, and pickles.
  • Asafoetida (hing): Has a strong and pungent flavor and is used as a flavoring and a digestive aid in Indian cooking.
  • Cinnamon (dalchini): Has a warm, sweet and fragrant flavor, used in both sweet and savory dishes.
  • Cloves (laung): Has a warm, pungent, and slightly sweet flavor and is used in various dishes, including curries, biryanis, and meat dishes.
  • Cardamom (elaichi): Has a sweet, floral, and slightly spicy flavor and is used in sweet and savory dishes.
  • Mace (javitri): The lacy outer covering of nutmeg has a similar but more delicate flavor than nutmeg; it’s a spice frequently used in Indian and other Asian cuisines to add a warm, aromatic flavor to curries, biryanis, and other dishes.
  • Tamarind paste (Imli paste): It is made from the pulp of the tamarind fruit and is used to add a tangy and slightly sweet taste to curries, chutneys, and marinades. It’s a key ingredient in many Indian and Southeast Asian dishes, adding a distinct and unique sourness to balance the dish’s flavors. It’s available in most Asian grocery stores and can be stored in an airtight container in the refrigerator for several months.

Indian Herbs

Here are some common herbs used in Indian cooking with a brief description:

  • Cilantro (Dhania): It is a fresh, green herb with a unique, tangy, and slightly citrusy flavor. It is commonly used in chutneys, curries, and marinades to add a fresh and bright flavor and garnish dishes.
  • Mint (Pudina): It has a refreshing, cool, and slightly sweet flavor with a hint of pepper. It is used in chutneys, curries, and marinades to add a fresh and bright flavor and garnish dishes.
  • Basil (Tulsi): It has a unique, sweet, and slightly peppery flavor with a hint of licorice. It is commonly used in curries, marinades, and garnish.
  • Curry leaves (Kadi Patta): These are used in curries, stir-fries, and lentil dishes. They have a unique flavor that is slightly citrusy and nutty. They are used as a tempering agent and are usually fried in oil or ghee to release the aroma and flavor before adding other ingredients.
  • Fenugreek leaves (Methi): These have a distinctive bitter and slightly sweet flavor. They are used in curries, dal, and lentil dishes to add a unique flavor and garnish.
  • Indian Bay Leaves (Cinnamomum Tamala, Tej Patta): These are not to be confused with the Bay leaves (Laurus nobilis) commonly used in Western cuisine. Indian bay leaves, also known as tej patta, have a more complex, subtle flavor than regular bay leaves and are used in various Indian dishes, particularly in the north of India. They have a unique aroma and flavors that combine cinnamon and clove and are an essential ingredient in the famous garam masala spice blend. They are also used in biryani, dals, curries, and soups. They are added to hot oil to release their essential oils and aroma before other ingredients are added to the dish.

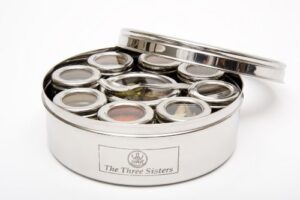
    How do you manage all these spices?   Use a Masala Dabba

    Indian Spice DabbaIf you store these spices in their original containers, they are a bit tough to use easily when cooking. Most Indian cooks use a masala dabba to store, organize and allow easy access to their most-used dry spices. It typically consists of a round or square metal container with several small, shallow compartments arranged around the edge of the container. Each compartment is used to hold a different spice or spice blend.

    The spices commonly stored in a masala dabba may include cumin powder, coriander powder, turmeric powder, red chili powder, garam masala powder, cumin seeds, mustard seeds, asafetida, cinnamon, cloves, and cardamom. Each household has a unique blend of spices in their dabba.

Filed Under: Ingredients

Papad, Pappadum, Poppadum–A Quick Snack

February 7, 2015 by Staff Cook

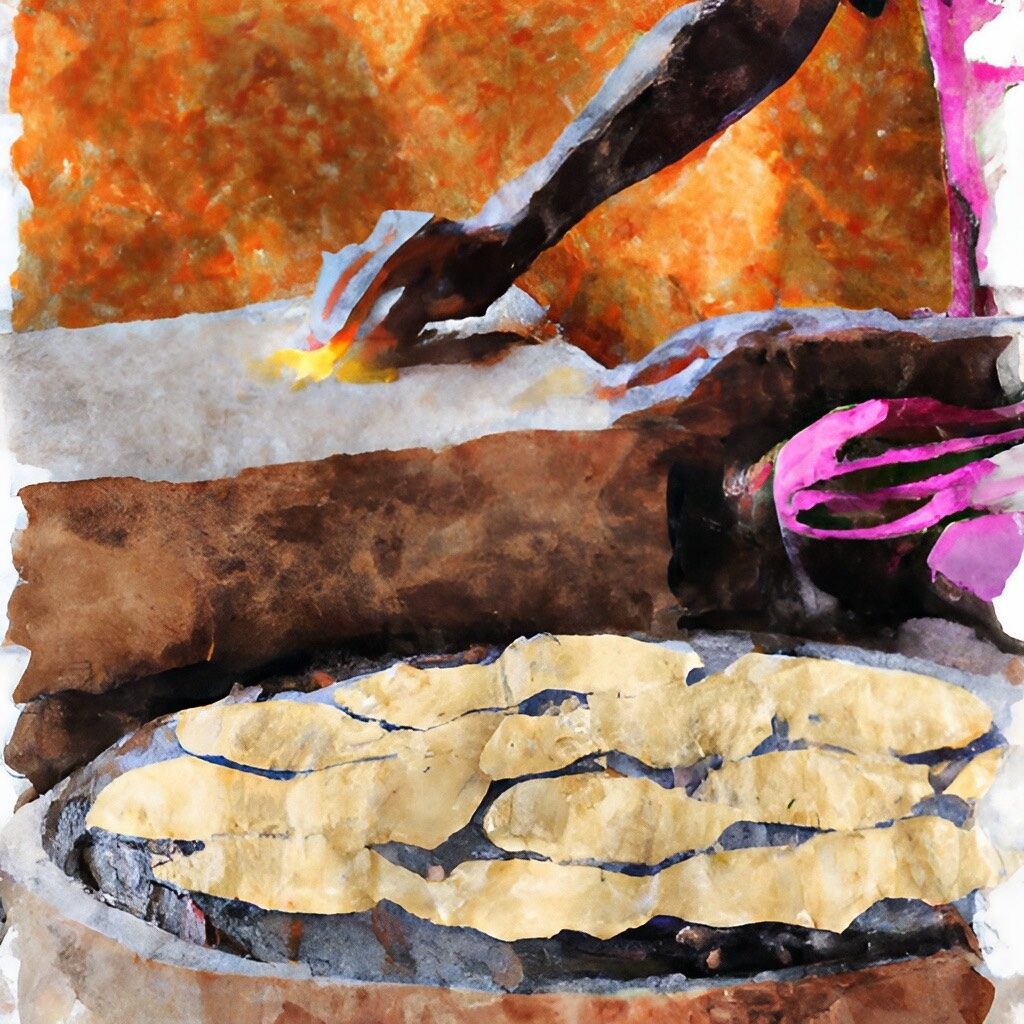
Papads (or Pappadum) are chappathi-sized (ok Tortilla sized) thin, crisp wafers made from lentil flour and accented by spices such as black pepper, cumin, garlic, or chile.   The good news, you can buy them ready to use from most Indian food stores.  Making papad yourself is very labor intensive and requires intensive labor to prep the ingredients, roll them out and dry them in the sun for days.   While I do remember papads drying on the terrace at my grandmother’s house, almost all Indian cooks buy them from the store.

Generally, in North India, they are dry roasted over a flame; in the South, they are fried.   If you’re feeling adventurous, roast them over an open flame.   I tend to cook them on a tava (a convex flat iron griddle) by heating the lava over medium heat, putting the papad on and roasting till it looks like the picture (flip occasionally).   If you want a quick snack, pop Papad into the microwave and cook for 30 secs, flip and cook for another 30 secs.

Want to get fancy?  Serve with any chutney you have handy (or in a pinch, salsa). A favorite snack when I was a kid was using papad to scoop up Indian yogurt. and of course it can also be served with chai.

As long as you don’t fry them, papads offer a healthy snack or an accompaniment to an Indian meal.

Cooking Papad

Heat a pan over medium heat.

  1. Place the papad in the pan and cook until they change color (dull yellow to bright yellow) and become crisp.
  2. Flip the papad over and cook until they are evenly crisp and golden brown.
  3. Remove the papad from the pan and transfer them to a plate lined with paper towels to drain any excess oil.
  4. Serve the papad immediately, garnished with chopped cilantro and accompanied by a chutney or dipping sauce.

Note: You can also cook papadams in the oven by preheating them to 400°F (200°C), placing them on a baking sheet, and baking for 5-7 minutes or until they are crisp and golden brown. Alternatively, deep-fry the papadams in hot oil until they are crisp and golden brown.

Filed Under: Indian Snacks

Primary Sidebar

Categories

  • Email
  • Facebook
  • Instagram
  • Pinterest
  • RSS
  • Twitter

Meet Indian Cooking School

Welcome Indian Cooking School! We are a team of food lovers and cooks who are passionate about sharing the rich, diverse flavors of Indian cuisine with the world. Our blog features a range of content, from expertly crafted recipes and technique guides to cultural insights and behind-the-scenes glimpses of the world of Indian cooking.

Whether you're a seasoned cook looking to expand your repertoire or a beginner looking to learn the basics, we have something for everyone. So join us on this culinary journey and discover the magic of Indian food – we can't wait to share it with you!

Our Favorite Sites

  • Aarti Paarti
  • Colors of Indian Cooking
  • Easy Food Smith
  • Ekant Cook Curry
  • Hari Ghotra Recipes
  • Indian as Apple Pie
  • Indian Simmer
  • Manjula's Kitchen
  • Quick Indian Cooking
  • Reddit's Indian Cooking Community
  • Sanjeev Kapoor
  • Show me the Curry
  • Sinfully Spicy
  • Tarla Dalal
  • The ABCD's of Cooking
  • Vegetarian Recipes of India
Colorful abstract of Indian desserts

Indian Desserts: A Sweet and Delicious Journey Across the Country

Discovering the Rich and Diverse History of Indian Cuisine in Curry: A Tale of Cooks and Conquerors

Mastering Tadka: Tips, Tricks, and Techniques for a Perfect Finish

Archives

  • Email
  • Facebook
  • Instagram
  • Pinterest
  • RSS
  • Twitter

Copyright © 2025 · Foodie Pro Theme by Shay Bocks · Built on the Genesis Framework · Powered by WordPress